
Design Build Process Guide for Bay Area Homes
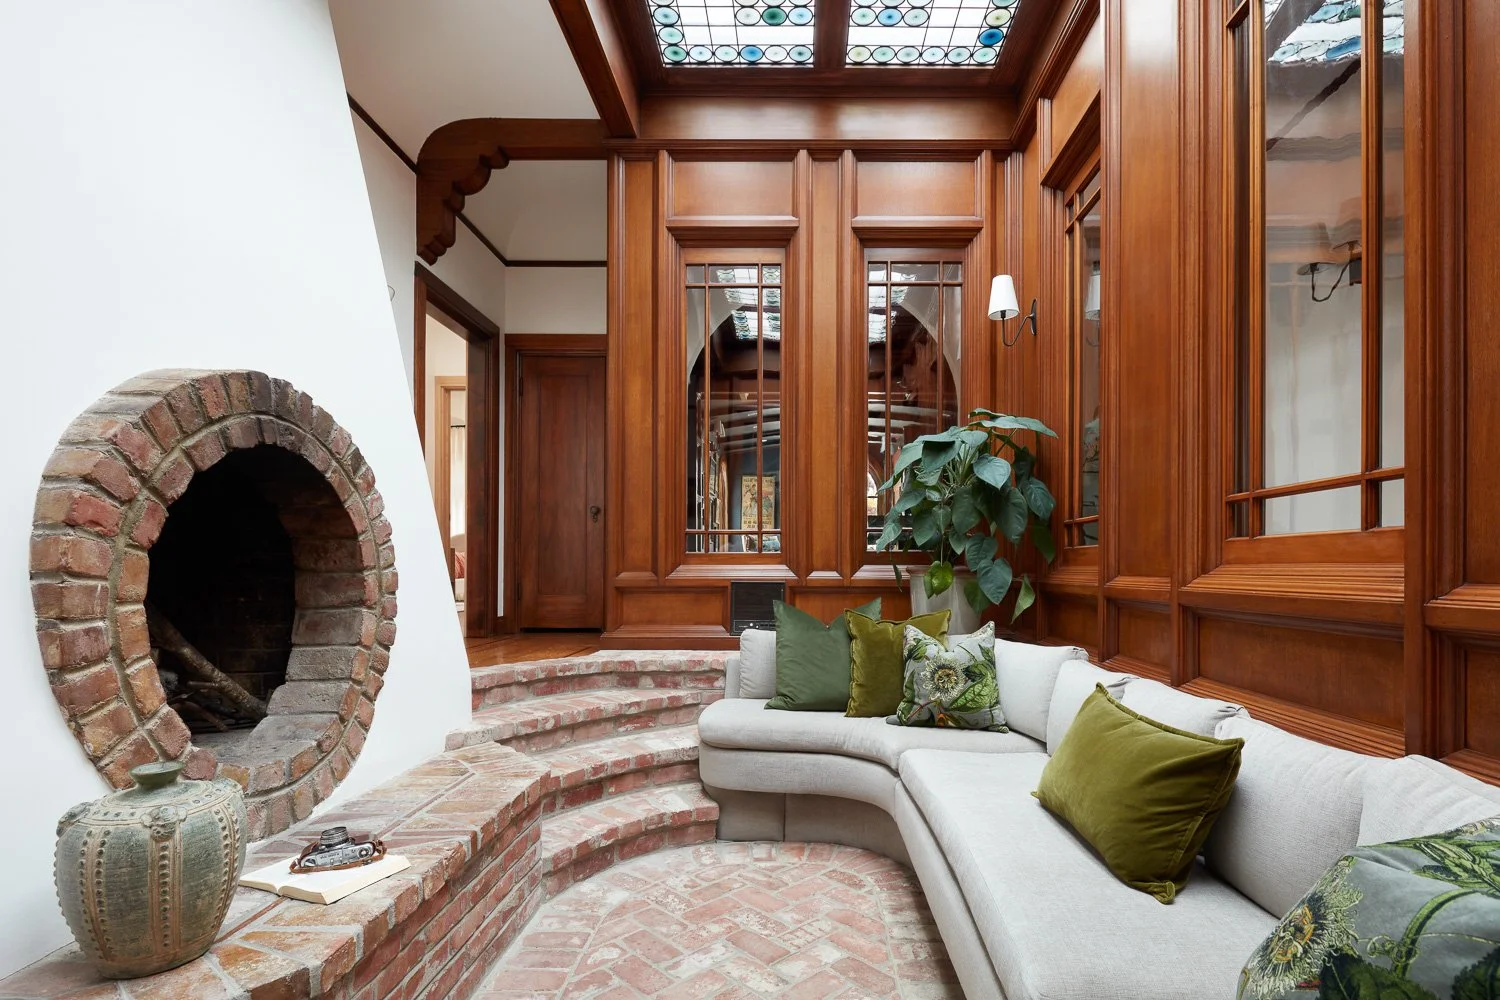
A room addition, ADU, or whole-home rebuild can start with a clear vision and still become difficult once plans, permits, pricing, and construction involve separate parties. This design build process guide explains how an integrated team keeps those moving parts connected, so Bay Area homeowners can make confident decisions from the first conversation through final completion.
For major residential work, the process matters as much as the finished result. A well-designed kitchen or a beautifully detailed addition has little value if the project is delayed by incomplete plans, permit revisions, or unanswered questions between the architect, contractor, and homeowner. Design-build is structured to reduce that fragmentation by placing design coordination, permitting, preconstruction, and construction under one accountable team.
What Design-Build Means for a Homeowner
In a traditional design-bid-build project, a homeowner hires a designer or architect first, completes plans, then sends those plans to several contractors for pricing. The contractor who is selected inherits the design and begins identifying construction constraints, cost gaps, or code issues. That model can work, particularly when plans are unusually detailed and the project scope is already settled. But it often creates a handoff at the point where the most expensive decisions are still being made.
With design-build, the construction team is involved while the design is taking shape. The builder can evaluate structural requirements, site conditions, permit pathways, material selections, and budget implications before the plans are finalized. Instead of receiving a completed set of drawings and reacting to it, the team helps guide the project toward a buildable solution.
For homeowners, that means one point of accountability. You are not left coordinating an architect, engineer, permit expediter, interior designer, and general contractor while trying to determine who owns a delay or a cost change. One team manages the process and gives you a clearer path forward.
The Design Build Process Guide: From Idea to Construction
Every project has its own variables. A detached ADU has different site and utility questions than a second-story addition, while a teardown-and-rebuild involves deeper planning around zoning, grading, and the existing structure. Still, a disciplined design-build process follows a consistent sequence.
1. Start with goals, site conditions, and project fit
The first phase is not about choosing finishes or drawing floor plans. It is about defining what the home needs to do better. A growing family may need bedrooms and a larger kitchen. A homeowner planning to age in place may need a first-floor suite and improved access. An ADU may be intended for family, guests, rental income, or a home office.
The design-build team reviews the property, discusses the desired scope, and identifies early constraints. In the Bay Area, those can include setbacks, zoning limits, hillside conditions, utility locations, heritage trees, fire requirements, or neighborhood design review. A realistic budget range and target schedule should also be discussed early. This is where a good team helps separate a wish list from the decisions that will produce the greatest return in space, function, and long-term value.
2. Develop a concept that can be permitted and built
Once the project direction is clear, design coordination begins. The team develops preliminary layouts, exterior concepts, and the major choices that drive cost and feasibility. For a home addition, that may include where the addition connects to the existing structure, how circulation changes, and whether the roofline and foundation require significant modifications. For a full remodel, the central questions may involve wall removal, plumbing relocation, electrical capacity, and the relationship between new and existing finishes.
This is also the right time to identify engineering needs and determine how the project will meet local code requirements. California energy rules, seismic requirements, fire safety standards, and local planning regulations are not details to solve after the design is complete. They influence the design itself.
The strongest concepts balance design ambition with construction reality. A dramatic wall of glass may be exactly right for the home, but it can affect structural engineering, energy compliance, lead times, and budget. The goal is not to eliminate meaningful choices. It is to make their trade-offs visible while there is still time to adjust.
3. Establish scope, budget, and selections before breaking ground
Homeowners often ask when they can receive a firm construction price. The honest answer is that pricing becomes more reliable as the scope becomes more defined. Square footage alone does not determine cost. Structural complexity, site access, custom millwork, appliance packages, windows, tile, lighting, and utility work can all materially change the investment.
During preconstruction, the design-build team turns the approved concept into coordinated plans, specifications, and a detailed scope of work. Key selections are made early enough to avoid vague allowances and late changes. This creates a more dependable budget because the team is pricing actual decisions rather than filling gaps with assumptions.
Some flexibility is still necessary. Existing homes can reveal concealed conditions after demolition, such as outdated wiring, dry rot, inadequate framing, or unexpected plumbing. A responsible builder explains how these conditions are handled and communicates them quickly. The difference is that the project starts with fewer unknowns and a clear process for managing the ones that remain.
4. Manage permitting as part of the project, not a separate task
Permitting is often the least visible phase for homeowners and one of the most consequential. Plans may need review by planning, building, public works, fire, or other local departments depending on the property and scope. Review comments can require revisions, and approval timelines vary by jurisdiction and project complexity.
A design-build team coordinates permit submittals, tracks review comments, and works with the relevant design and engineering professionals to address corrections. That coordination is especially valuable for projects in and around Los Gatos, where site-specific requirements can shape both the schedule and the final design.
No contractor can responsibly promise that every permit will be approved on a fixed date. Agency timelines are outside the builder's direct control. What a disciplined team can control is the quality of the submittal, the speed of responses, and the way permit work is planned alongside procurement and construction preparation.
5. Build with a single plan and clear communication
After permits are in place, construction begins with a defined schedule, site preparation, and a clear sequence of work. Demolition, foundations, framing, rough plumbing, electrical, mechanical work, insulation, drywall, cabinetry, finishes, and final inspections must occur in the right order. Changes in one area can affect several trades, which is why hands-on project management is essential.
A design-build project should give homeowners regular visibility into progress, upcoming selections, inspection milestones, and decisions that need attention. Communication should be direct and useful: what was completed, what is next, and whether anything requires a choice or adjustment.
Centralized management also reduces the finger-pointing that can happen when separate firms are involved. If a field condition affects the design, the team responsible for the project can evaluate the issue, coordinate the solution, and keep work moving. At EDR Design Build, that integrated responsibility is central to how we permit, design, and build complex residential projects.
6. Finish carefully and close out the project properly
Construction is not complete when the last fixture is installed. Final inspections, punch-list work, system testing, and homeowner orientation all matter. The team should walk the home with you, document remaining details, and explain the operation of new equipment, finishes, and features.
For an addition or rebuild, closeout may also include final approvals that confirm the work meets applicable requirements. Keep project records, warranties, finish information, and maintenance guidance in one place. Those details are useful long after the crew leaves, whether you need a replacement part, plan a future improvement, or prepare to sell the home.
When Design-Build Is the Right Choice
Design-build is particularly well suited to homeowners who value speed, coordinated decision-making, and one accountable partner. It is a practical fit for room additions, major remodels, ADUs, custom homes, and teardown-and-rebuild projects where design, permits, and construction are closely connected.
It may be less necessary for a small, clearly defined project with completed plans and minimal permitting. Even then, homeowners should understand that the lowest initial bid is not always the lowest final cost. Incomplete specifications, missing scope items, and slow decisions can create expensive changes later.
The value of design-build is not simply having fewer contacts in your phone. It is having the right information at the right stage, with a team that understands both the vision for your home and the work required to deliver it. Before committing to a major project, ask how the team handles design coordination, permit corrections, pricing detail, schedule changes, and field conditions. Clear answers at the start create a much better experience when construction is underway.
Proudly serving San Jose, Campbell, Los Gatos, Saratoga, Cupertino, Sunnyvale, Santa Clara, Mountain View, Los Altos, Los Altos Hills, Palo Alto, Menlo Park, Stanford, Woodside, Emerald Hills, Atherton, South San Francisco, Redwood City, Foster City, Portola Valley, Belmont, San Mateo, Burlingame, Millbrae, Hillsborough, San Bruno, Daly City, Colma, Brisbane, Pacifica, Milpitas, San Carlos, and surrounding Bay Area communities.
